Three Steps to Building a Custom Event Design: Step 2
Building a custom event design involves many steps in a long and detailed process, which is an overwhelming task for both novice and expert meeting planners. At Blue Spark, we break down this process into three main categories: Design & Build, Installation, and Experience.
We broke down the details of Step 1: Design & Build recently and now let’s dive into Step 2.
Step 2: The Event Installation Process


Task 1: Liaise with hotel and operations
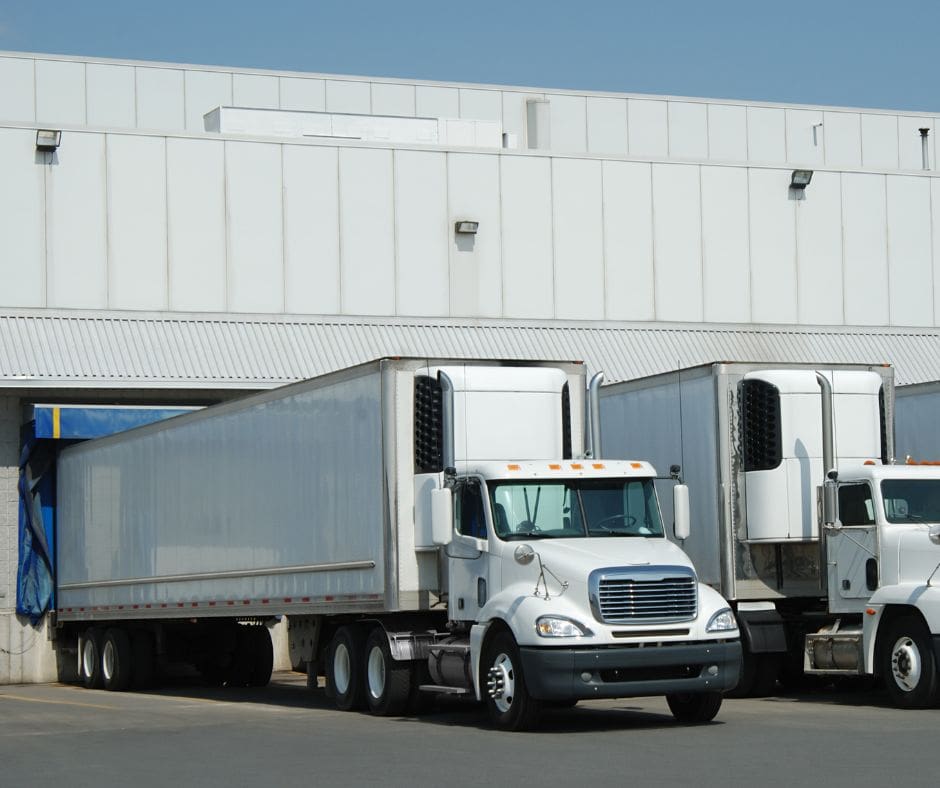
Communication with the venue, hotel or event space is critical for any successful event, especially installing custom décor. Performing a site visit to measure ceiling heights, reviewing loading dock access, looking for fire code safety elements like fire alarms, exit signs, etc., allows us to more effectively communicate how we’ll bring in each element and where it will be placed.
We provide the venue, event space or hotel with a Hotel Resume that communicates our load in elements, including dock schedule, power needs and floor plans of where elements will be located. From the venue’s perspective, it’s a great communication tool that they use to update BEOs and disseminate details to internal teams so everyone is on the same page during load-in.


Task 2: Coordinate load-in
Now that we’ve shared our plan with the hotel or venue, we make sure our vendors are also in the know. To do this, we prepare a Vendor Sheet to convey pertinent information to our partners.
This document has similar information to the hotel resume, however it focuses specifically on key details the vendors will need, such as loading dock assignments and load-in access times.
Hotels are always moving shipments and products in and out of their dock space, so utilizing the dock efficiently among multiple vendors is important. The Vendor Sheet also makes each vendor aware of the other vendors who will be on-site for the event and how they each fit into the bigger picture.


Task 3: Source and manage event staff
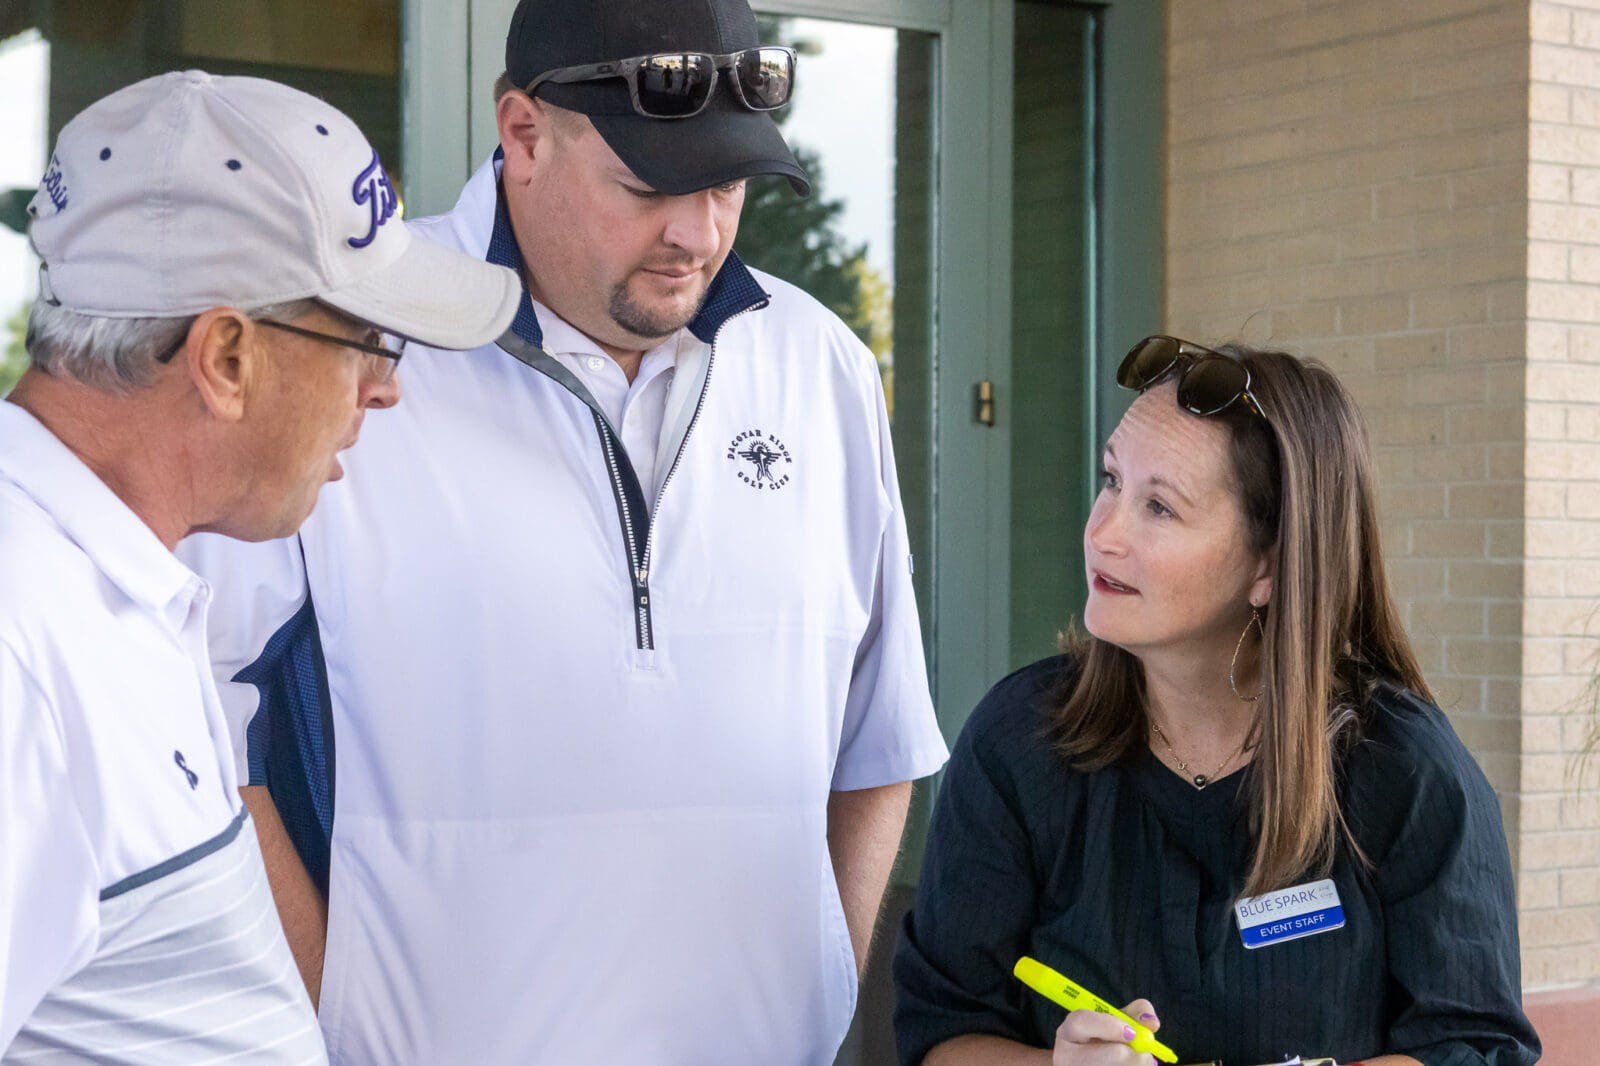
Event elements come in all shapes and sizes. Larger custom-designed elements are loaded in and set up by our vendors, the smaller elements arrive in lots of boxes that staff need to open, unpackage, assemble, and display artistically per the design. This is why we need event staff. (Get more tips on choosing event staff are here.)
Using a team of experienced people helps execute installation in a timely manner, as well as expediting the strike of the same elements and prepping them to be shipped back out. Sourcing great staff makes each event an easier task.
Want to see the full event process in less than 95 seconds?

Task 4: Manage on-site set-up
Blue Spark producers assist in managing our events on-site. These highly skilled event planners have worked in the industry for decades and proactively anticipate and resolve any issues as they come up in an efficient and professional manner. They help to make a client’s life stress-free and improve the communication flow between our on-site leadership team and the client.

Task 5: Health and safety code compliance
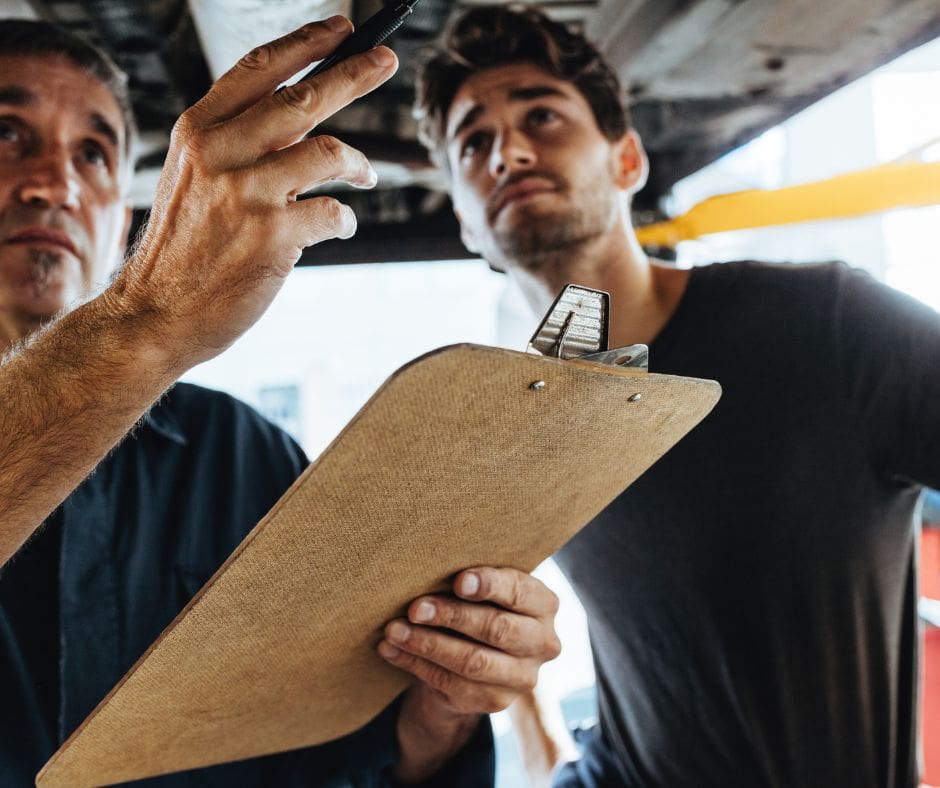
Health and safety are of the utmost importance for any event. Knowing the weight, stability, sizes, and full design scope helps us assign each element a location that is fire-code approved. Sharing size-exact floor plans with fire marshals ahead of load-in helps avoid unnecessary repositioning of elements that might otherwise be placed in unsafe locations or that block visible exits. To-scale floor plans also provide insight on how best to arrange the event elements for the safest attendee flow and egress.

Task 6: Ensure cohesiveness of design elements
Because the overall event design starts out on paper and consolidates elements from a variety of vendors, seeing the completed design in-person often presents the on-site producer with fresh insight to add little touches here and there.
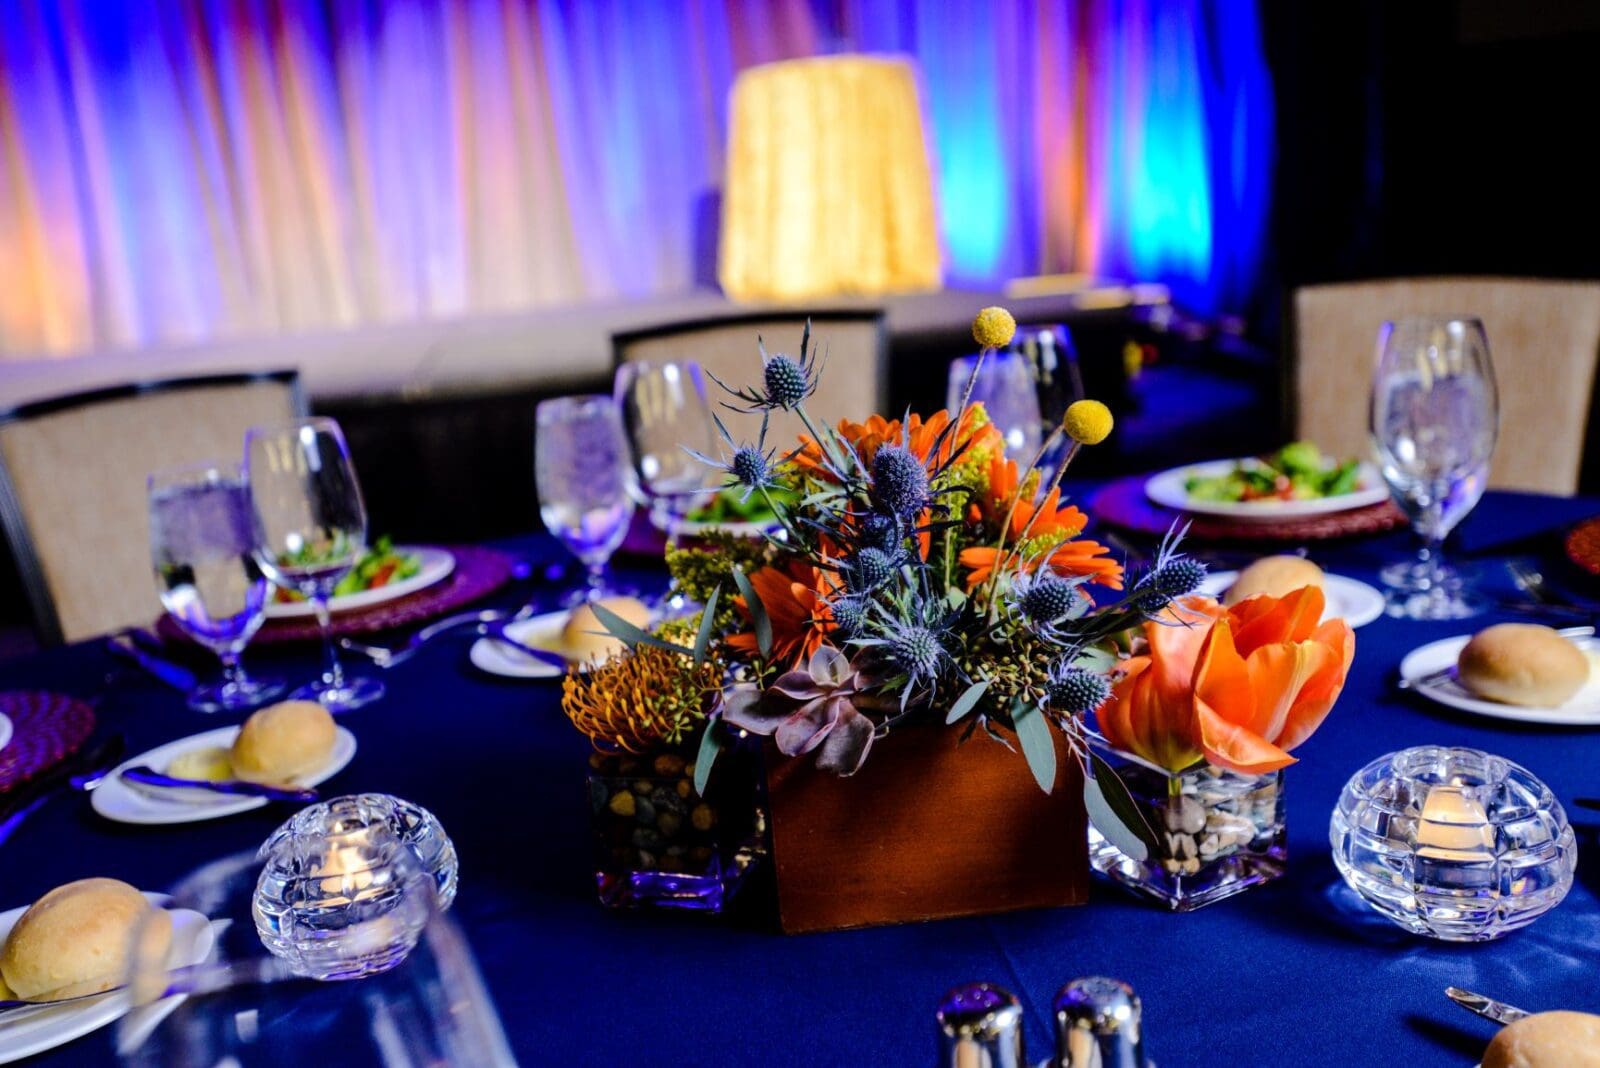
For example, using surplus purple flowers to enhance an entrance sign creates a stunning visual connection with the purple floral from the table centerpieces. Design enhancements like this sometimes only come to light during the final execution of the installation, after all the elements are combined on-site.
Once those final touches are complete, we move onto Step 3: Experience!
Search By Topic
- Event and Meeting Planning (71)
- Event Design (42)
- Incentive Travel (19)

