Three Steps to Building a Custom Event Design: Step 1
Building a custom event design involves many steps in a long and detailed process, which is an overwhelming task for both novice and expert meeting planners. At Blue Spark, we break down this process into three main categories:
- Design & Build
- Installation
- Experience
Before we jump ahead though, let’s get into Step 1.
The Design & Build Process
Task 1: Brainstorm overall theme and event flow
The first step is to meet with your internal team and discuss what you want your guests to take away from your event. (At Blue Spark we call this a “discovery session” as part of our event design process.)
Is it a message? A feeling? Brand awareness? If the overall theme is energy, demonstrate that in a way that electrifies and ignites your guest!
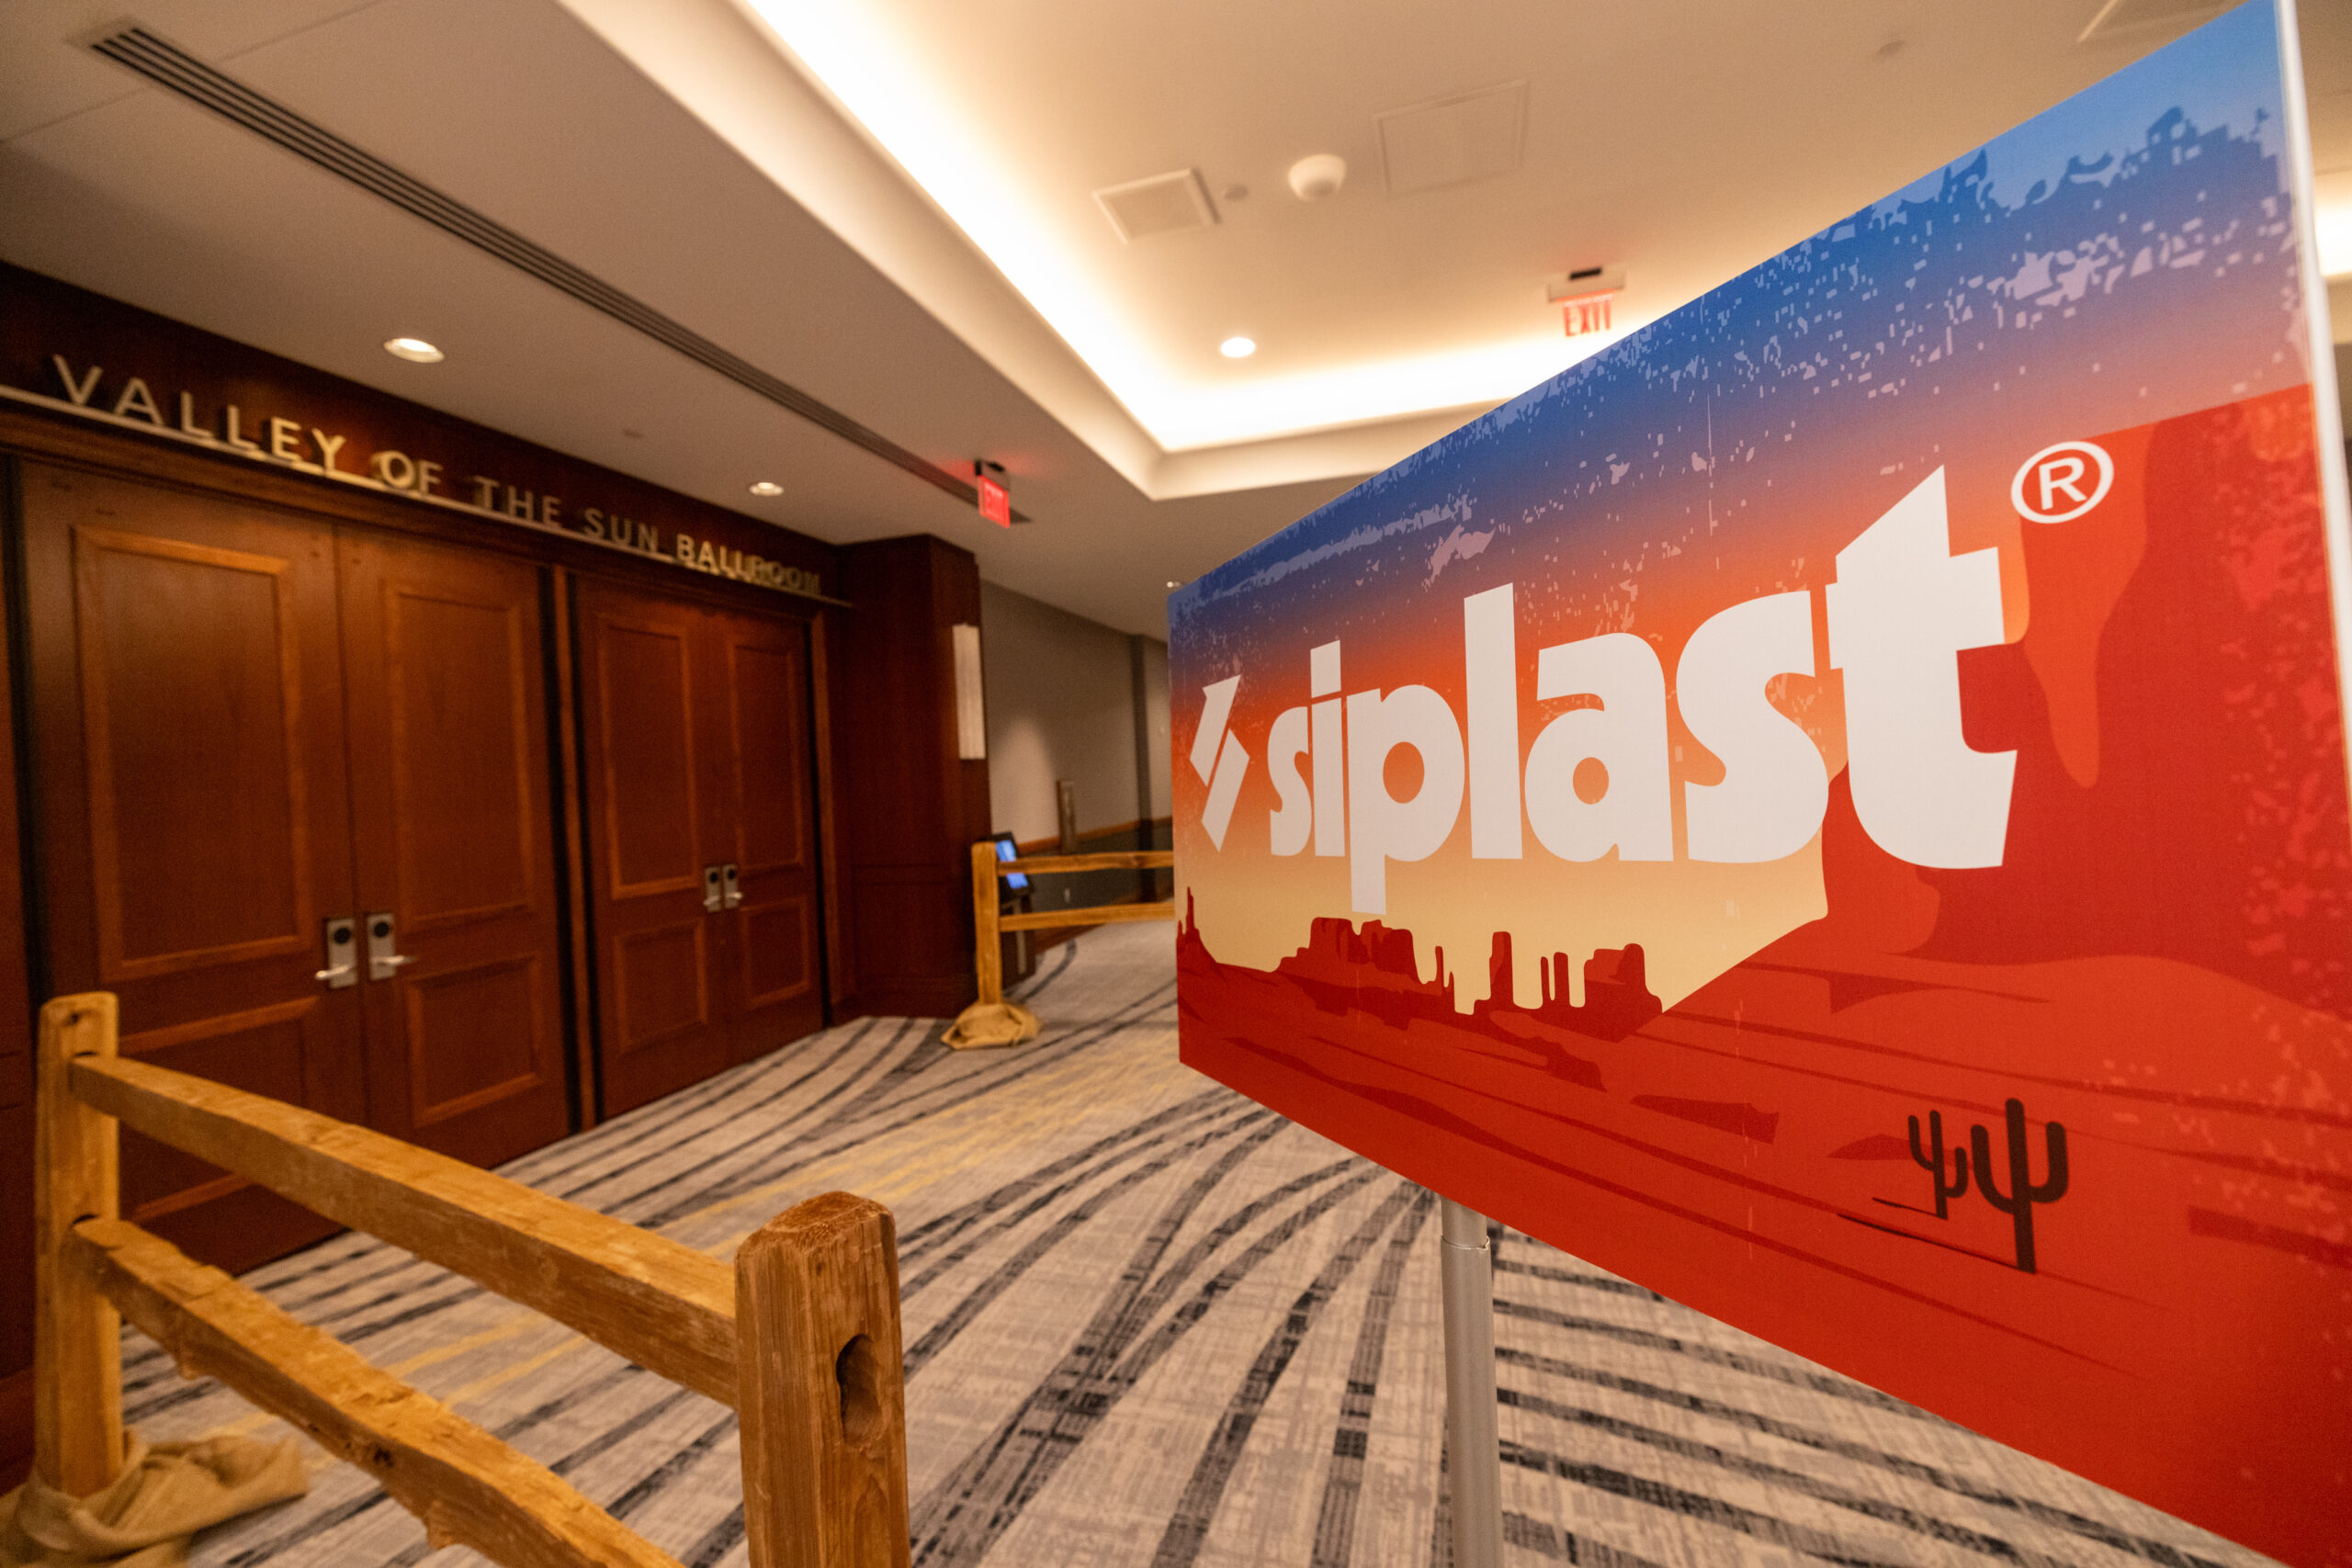
Think about the space you are working within as well. Where does the event design begin? At the beginning of the hallway to your ballroom or once the ballroom doors open? If you’re in an unconventional space like a courtyard, or an outdoor park, how are you guiding your guests through the journey of your theme?
Task 2: Research trusted partners
Once your overall theme is in place and your event flow is well designed, reach out to your trusted partners and vendors to complete the vision. Finding quality, trusted vendors who love what they do and who complete your vision can be difficult.
Utilizing a professional meeting producer alleviates a large amount of research hours and the unsettling feeling of not having confidence in the vendor who you are trusting to complete the design.
Task 3: Prepare renderings and revise design as needed
Next, we need to visualize each element on paper. Custom event décor pieces are best communicated through renderings. Often, these Instagram-able décor pieces do not yet exist. Show your design team how to bring to life your theme with renderings of each important design piece.
Once your team agrees on the initial designs, tweak them based on feedback to better communicate the event goals.
See the full process in this 2 minute video.
Task 4: Finalize theme and design
Approve all renderings and communicate how these elements fit into the space is next. Review the event flow and propose placement of each element to ensure the event goals are being achieved throughout the event timeline and adjust as needed.
Task 5: Prepare floor plans
Floor plans are an imperative part of the conference production journey. We schedule site visits not only to assist with placement of décor elements, but also to take measurements of the space.
Plus a fire marshal’s approval requires an accurate floor plan. Here are some great floor plan tools: Social Tables or AllSeated.
Task 6: Manage fabrication of custom elements
Finally, we’re at the exciting part. You have brainstormed the overall theme, included it with the event flow, researched and contracted trusted partners to fulfill the vision, prepared renderings and revised the design, finalized the theme, prepared to-scale floor plans and now you get to manage the fabrication of the custom elements.
Seems easy, right? It’s not. This is where you get down to the details of collecting all the PMS colors, logos, messaging typeface, floral specifics, fabric specifics, and more to make sure the design is exactly as discussed.
Follow up and internal meetings are essential to the fabrication process and design prep and keep all the trusted partners on the same path to completion and ready for the next phase in this journey…
Search By Topic
- Event and Meeting Planning (73)
- Event Design (44)
- Incentive Travel (23)